• BLOG
  • ABOUT
    • Privacy Policy

Organize Your Family History

Stay focused and happy while exploring your roots

How I store my genealogy data

October 24, 2025 By Janine Adams 17 Comments

I originally wrote this post in 2016 and nine years later I’m amazed how little has changed about how I handle my electronic genealogy data. The only differences are that I’m using a newer version of Reunion, I moved my research notes from Evernote to Apple’s Notes app, and I use Backblaze, rather than CrashPlan Pro. Otherwise this method has stood the test of time and I have no regrets!

reuniononmac90I love organizing my family history research electronically. As I’ve mentioned here many times, I try not to print digital documents and instead store everything electronically where I can have easy access to it.

I don’t think I have been clear when I talk about storing my genealogy data electronically that I’m not talking about storing it as a family tree on Ancestry or Family Search. I’m talking about storing it on my hard drive.

To me, it would be folly to rely on an outside service to store my precious genealogy data. If the only copy of my information was at Ancestry, I would be required to renew my subscription to access my own data. Even storing all my information at a free site like Family Search feels risky to me. It’s conceivable that they could change their terms of service to something unacceptable to me. Or start charging for access. Or simply vanish. Another place that some people store their genealogy documents is Evernote. I think that can be a great way to have easy, searchable access to information. But I wouldn’t store genealogy documents on Evernote that I don’t also have on my hard drive. They could go belly up. (It happened with Springpad.)

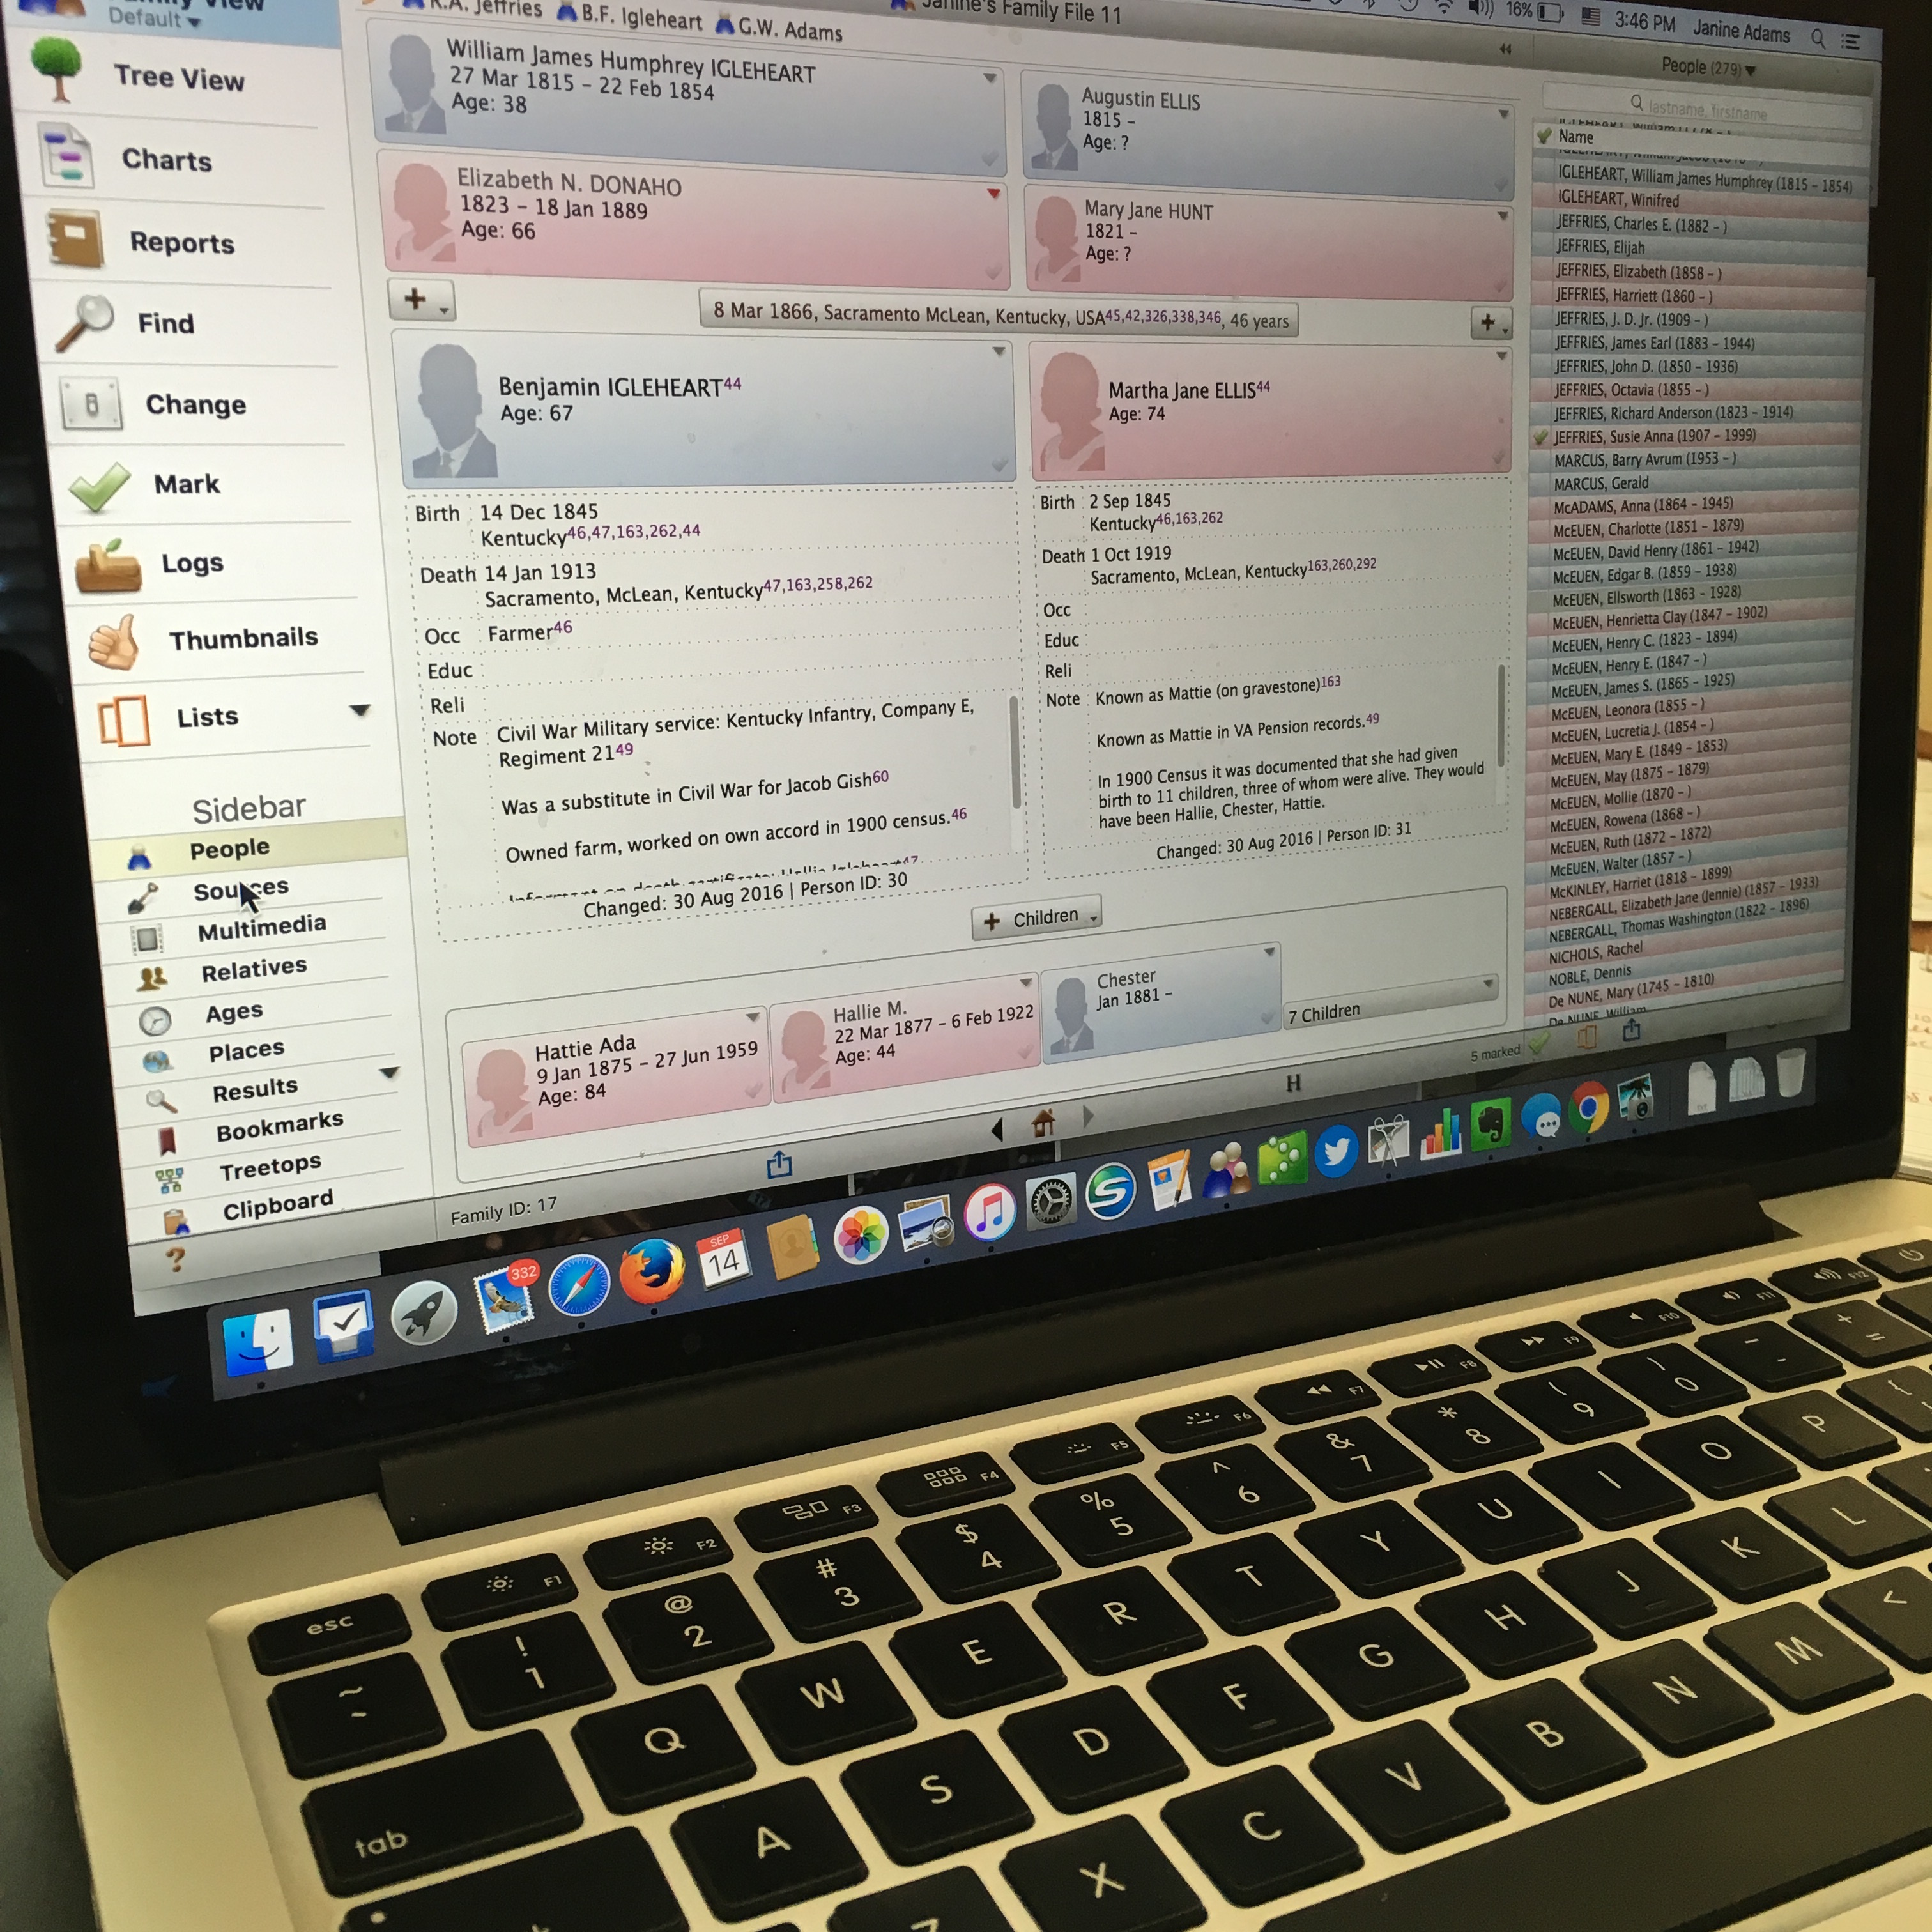
I enter all of my data into family-tree software that resides on my laptop’s hard drive. I use Reunion 11, a Mac program. It can sync with the iPhone and iPad using the ReunionTouch app. I haven’t yet installed ReunionTouch because I take my Mac with me on research trips. I like that storing my data on my computer, rather than an online service, is that the information is accessible even when I don’t have an internet connection (if I have my computer with me).

Of course, I back up my hard drive, both on an external hard drive and with an online backup service (CrashPlan Pro). Backing up is critical.

I’m not saying that my way is the right way or the best way. But I’ll share with you my process for storing info, in case you find it helpful or interesting. So far, it’s working well for me.

When I find a sourced piece of information pertinent to my research this is what I do:

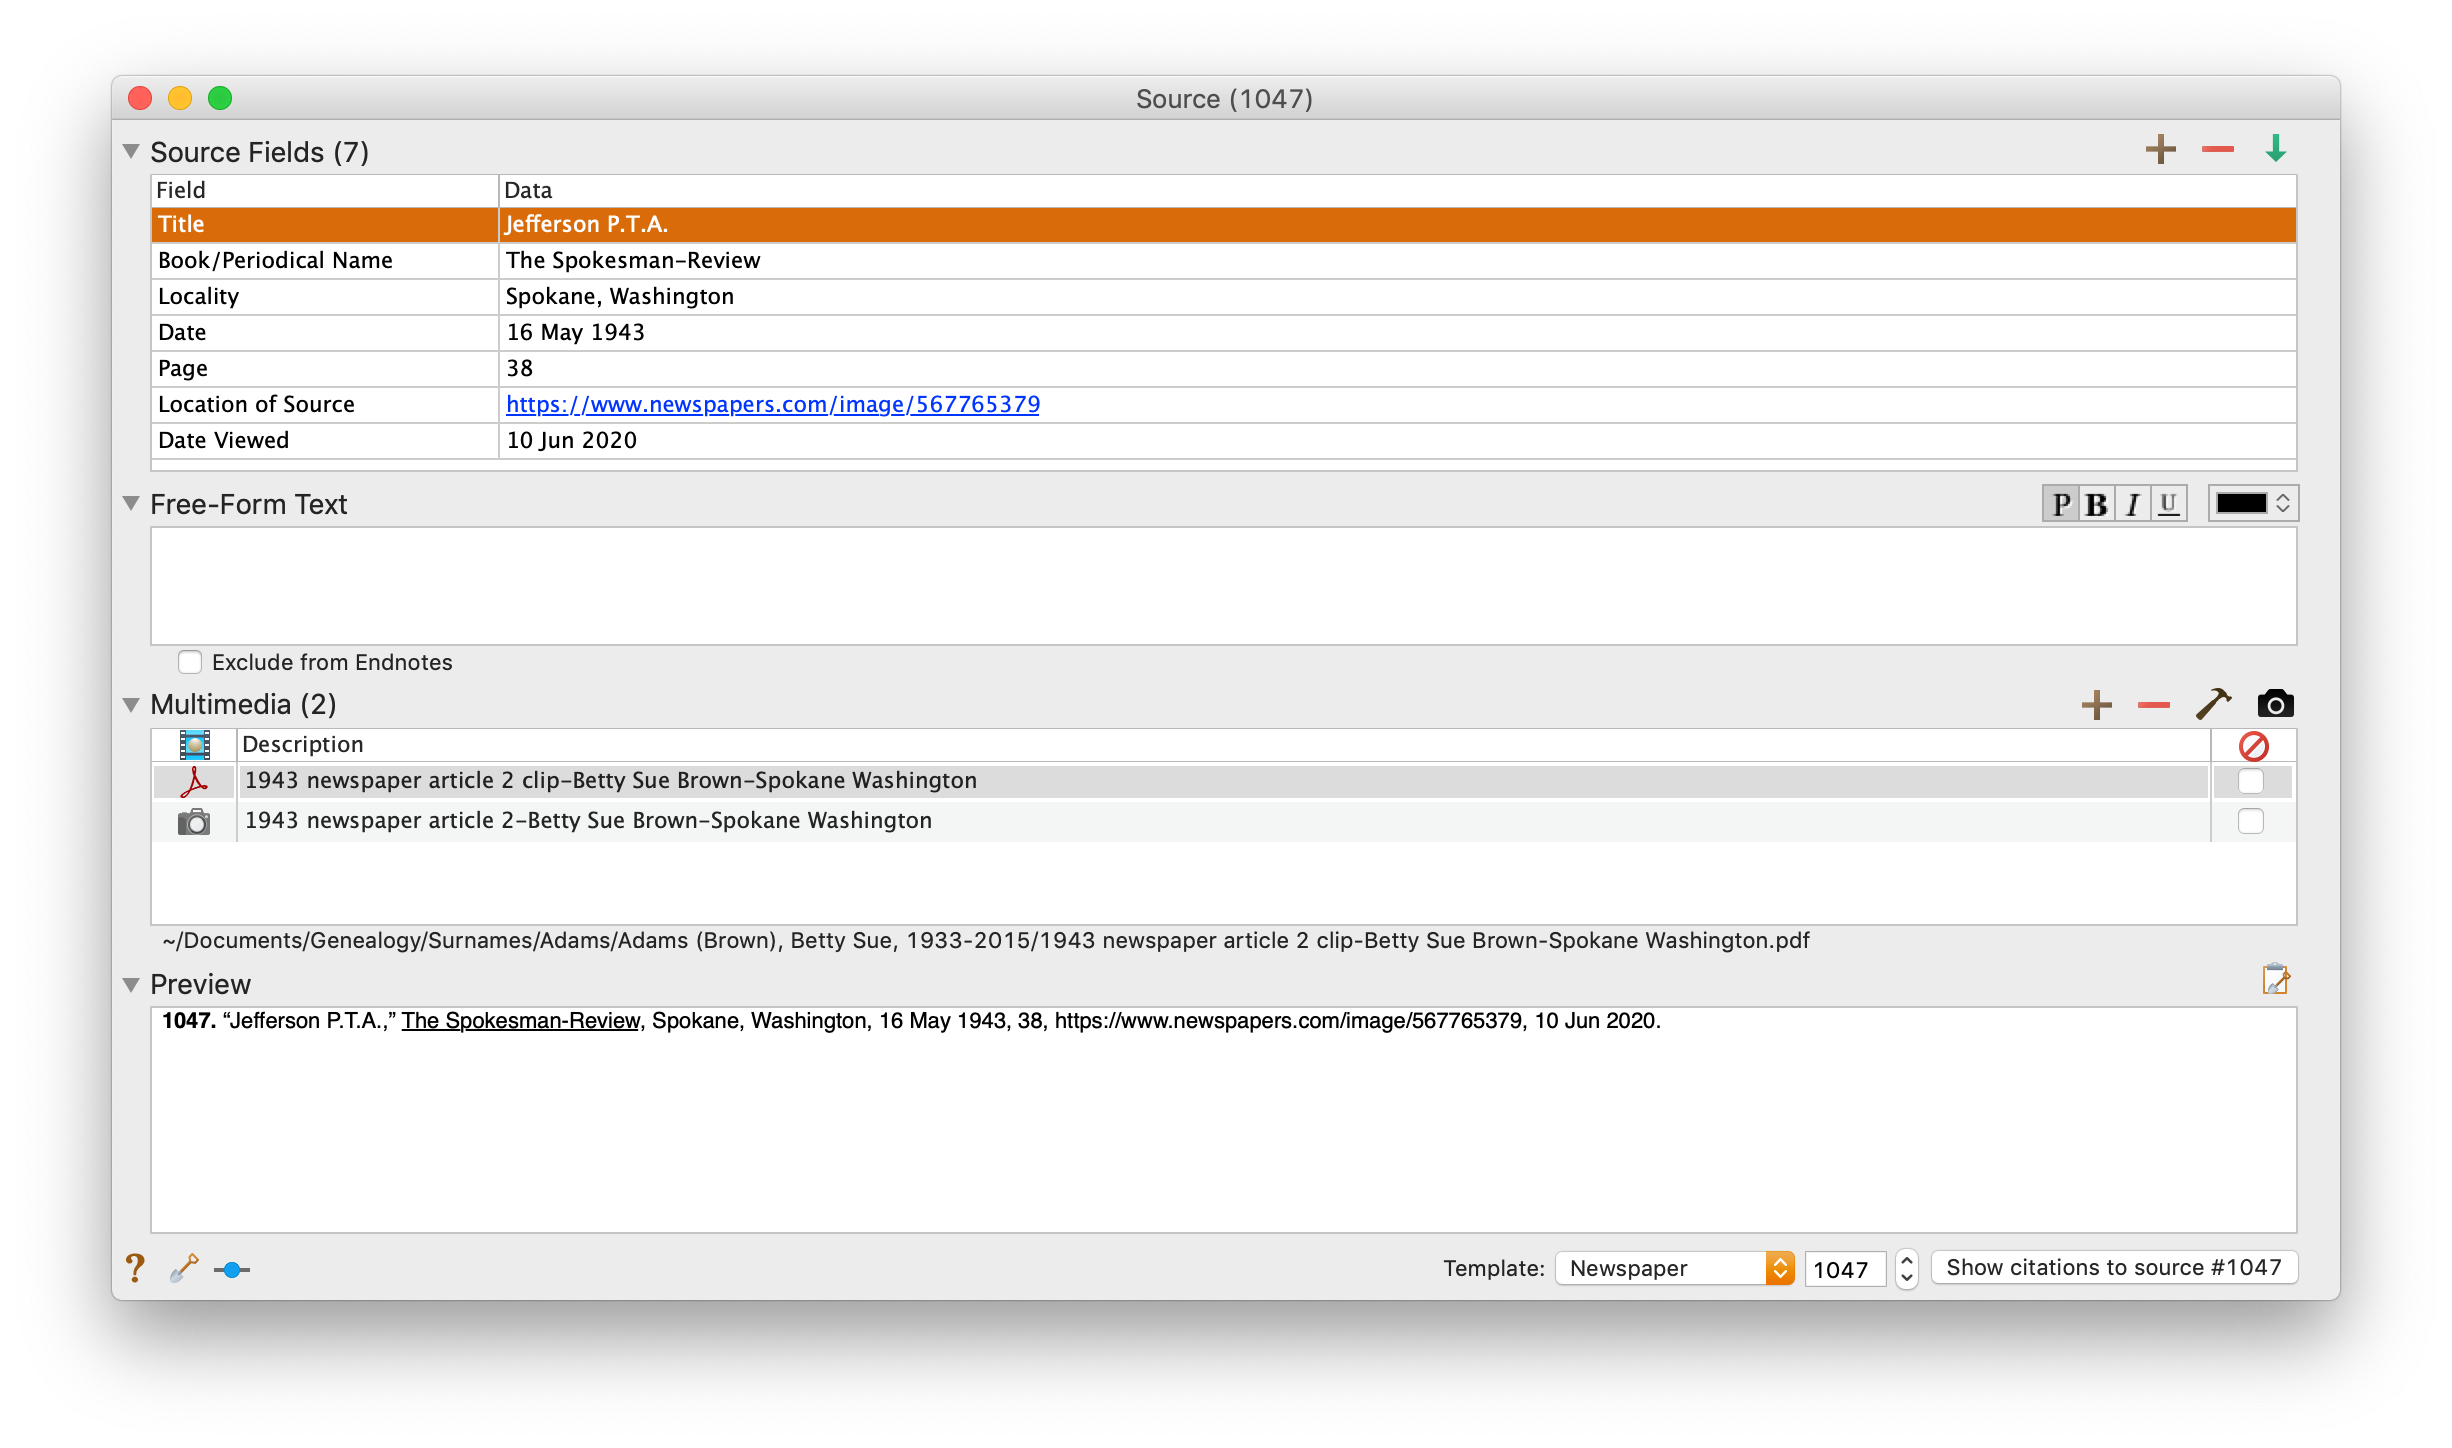
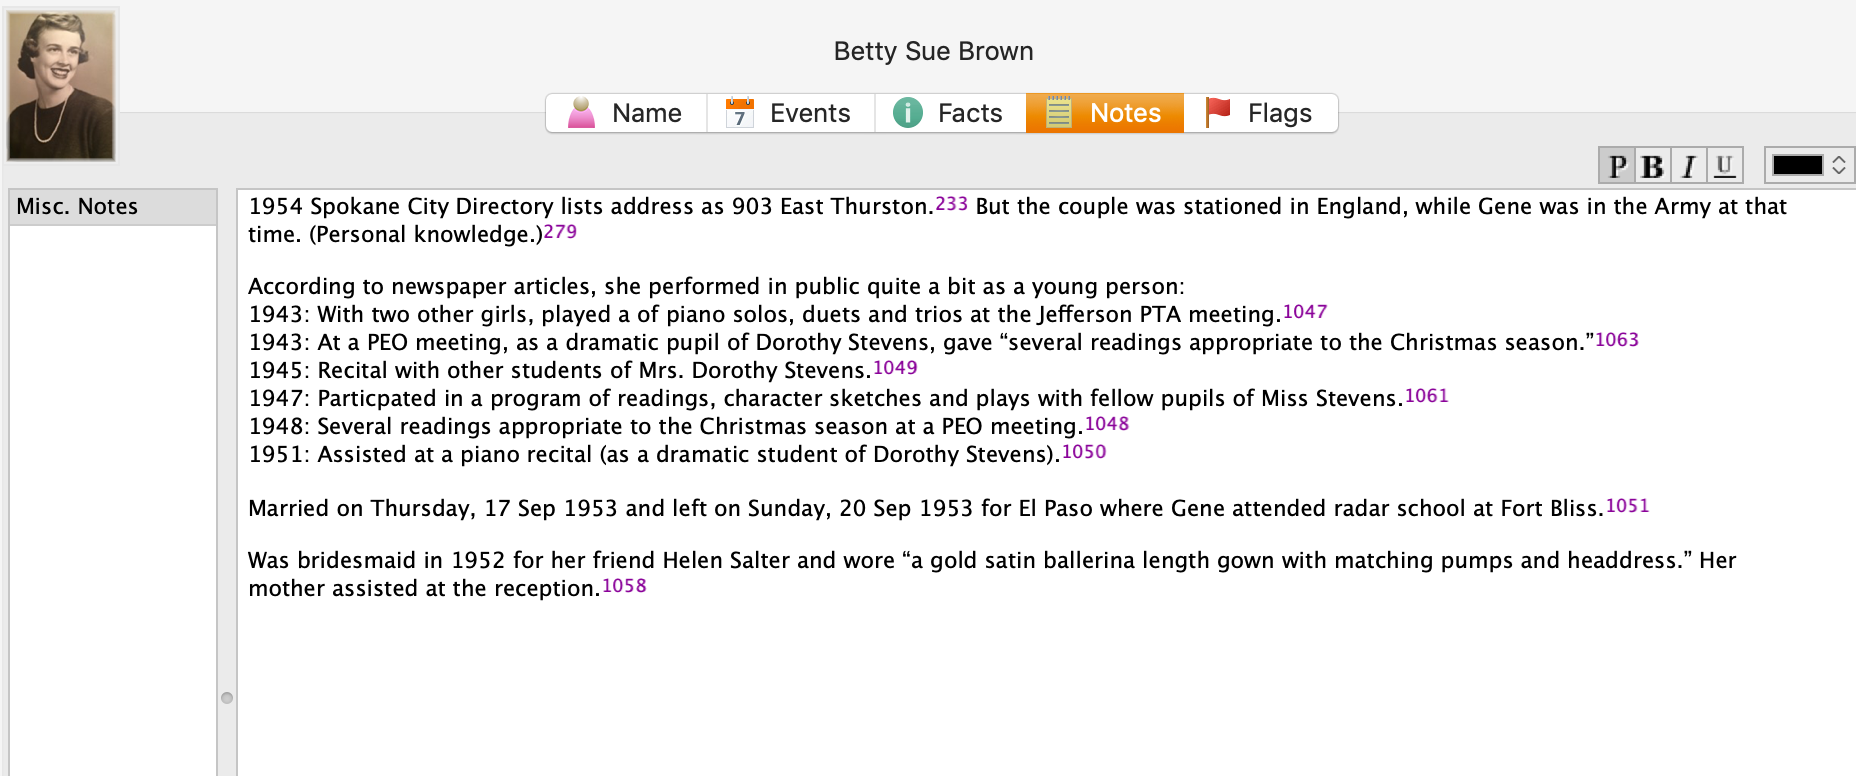
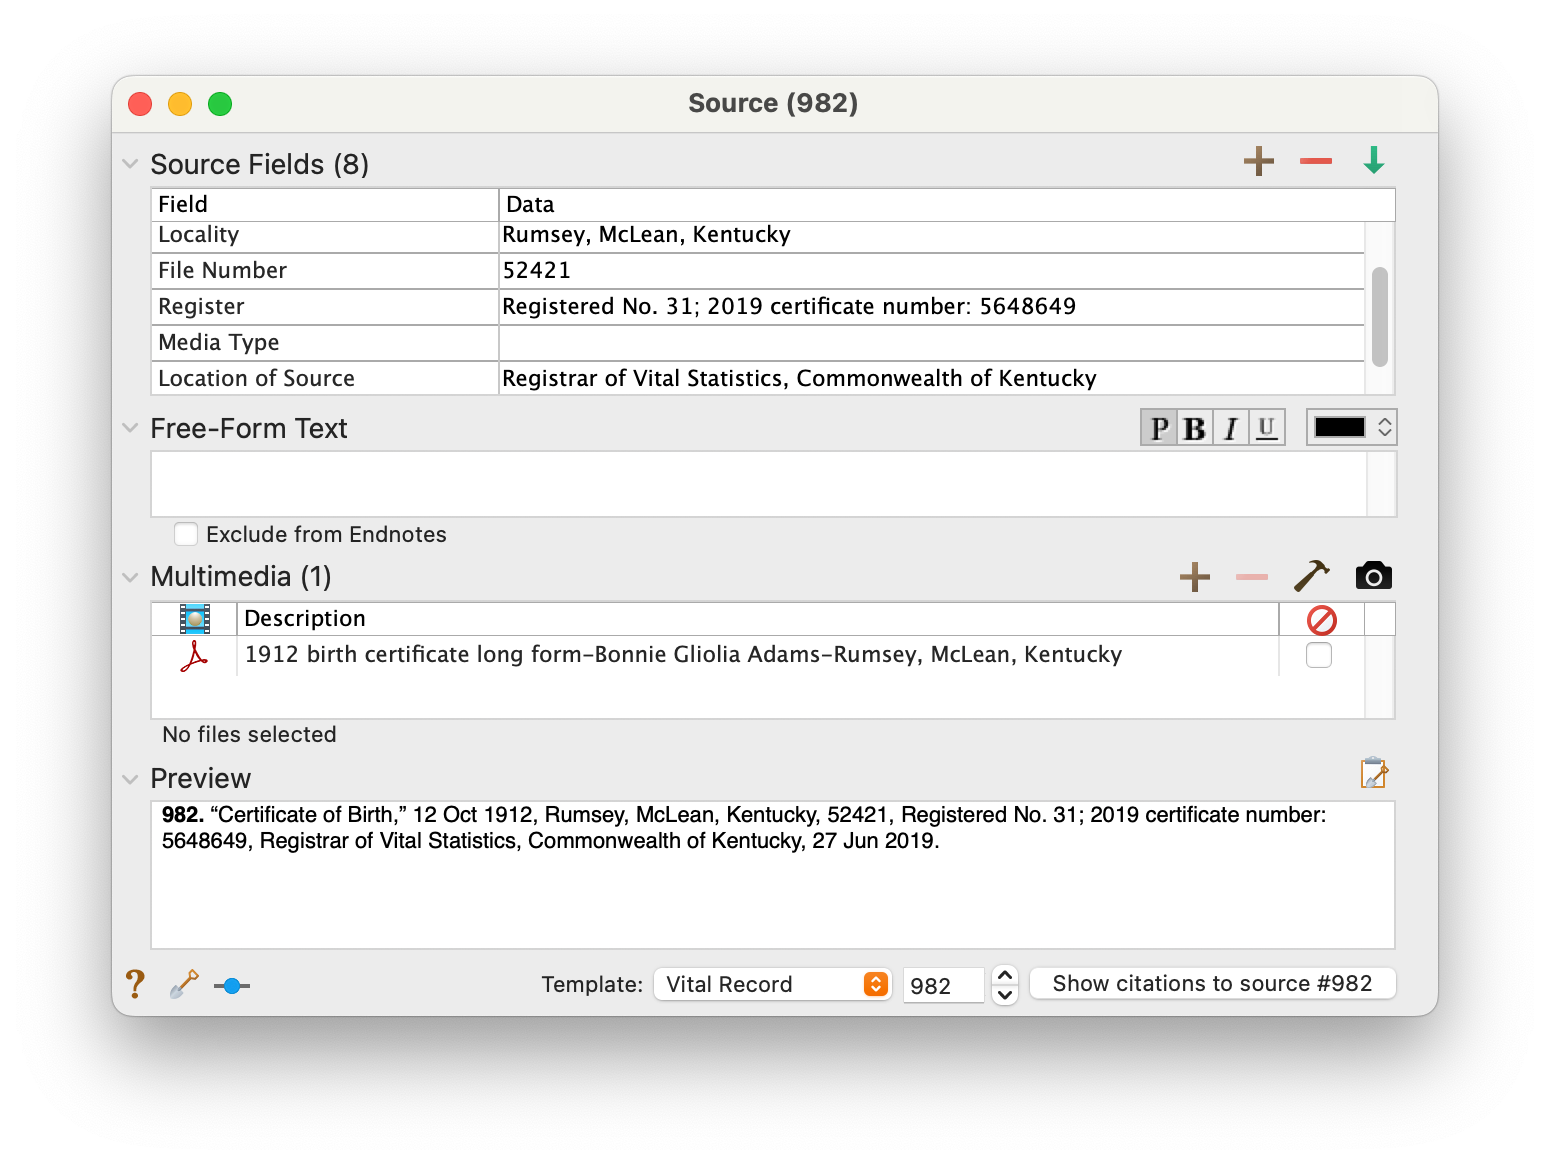
  1. Add the information to the appropriate person(s) in Reunion (or add a person if need be).
  2. Cite the source in Reunion.
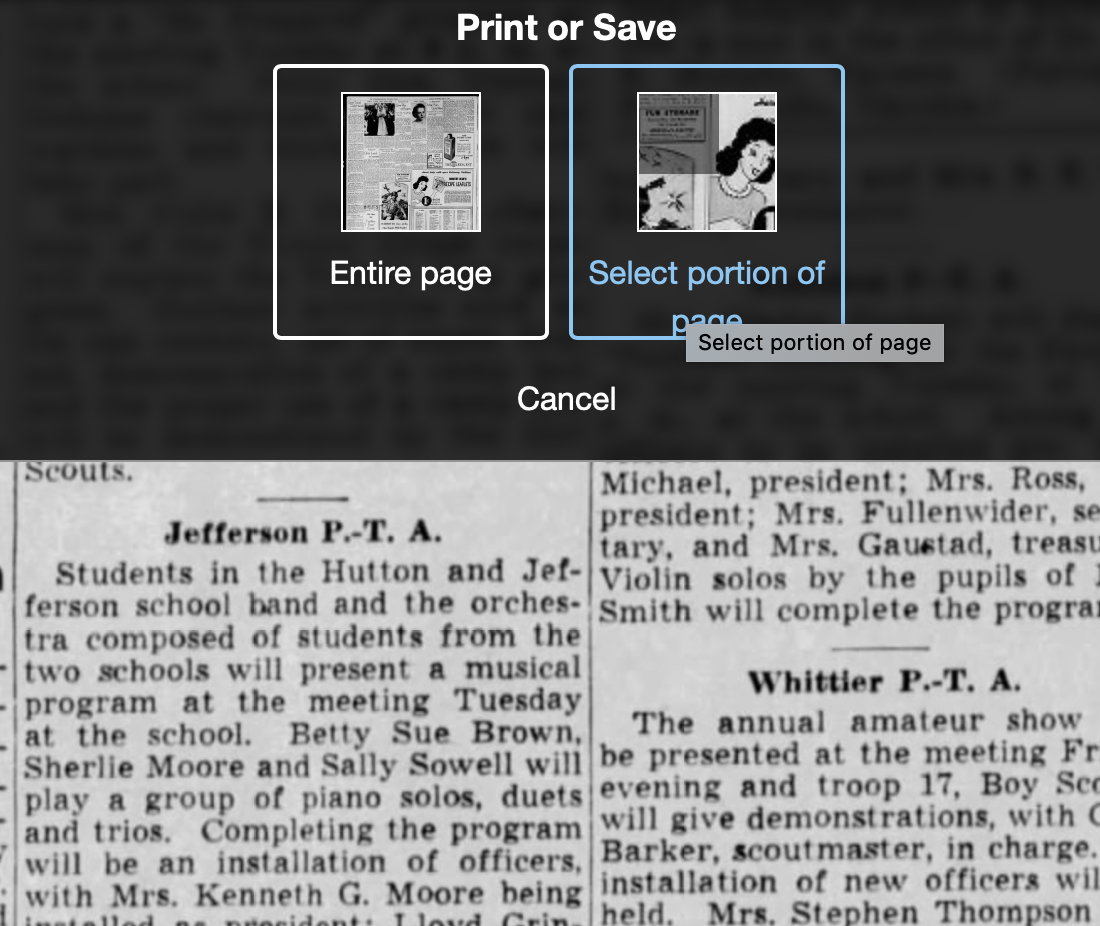
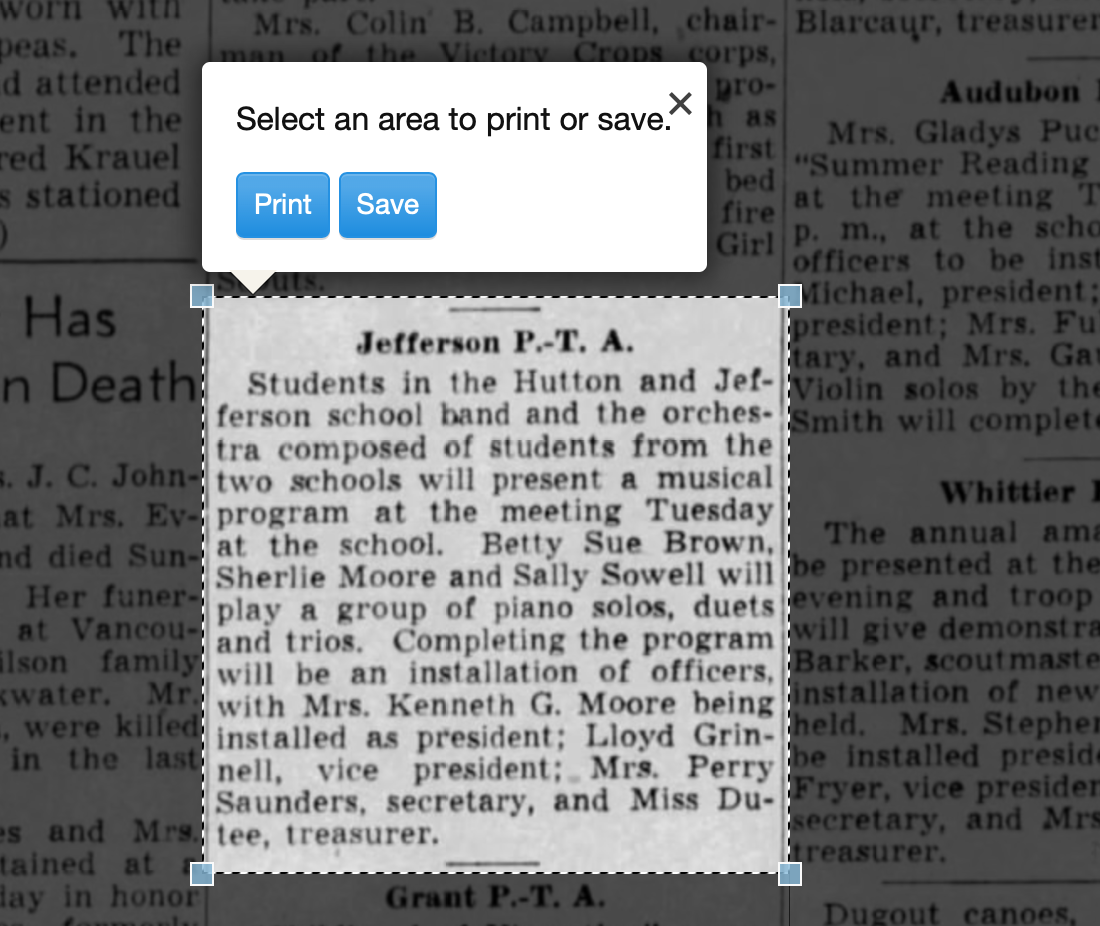
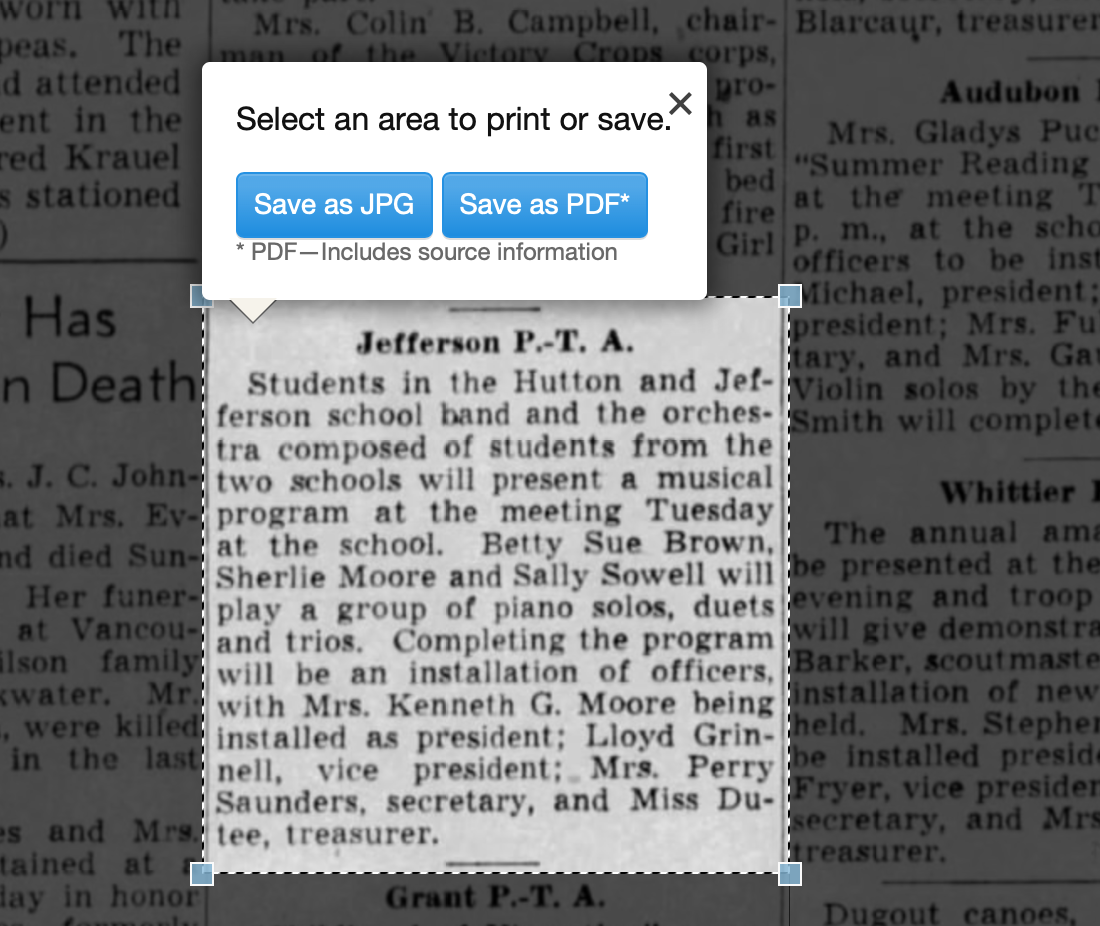
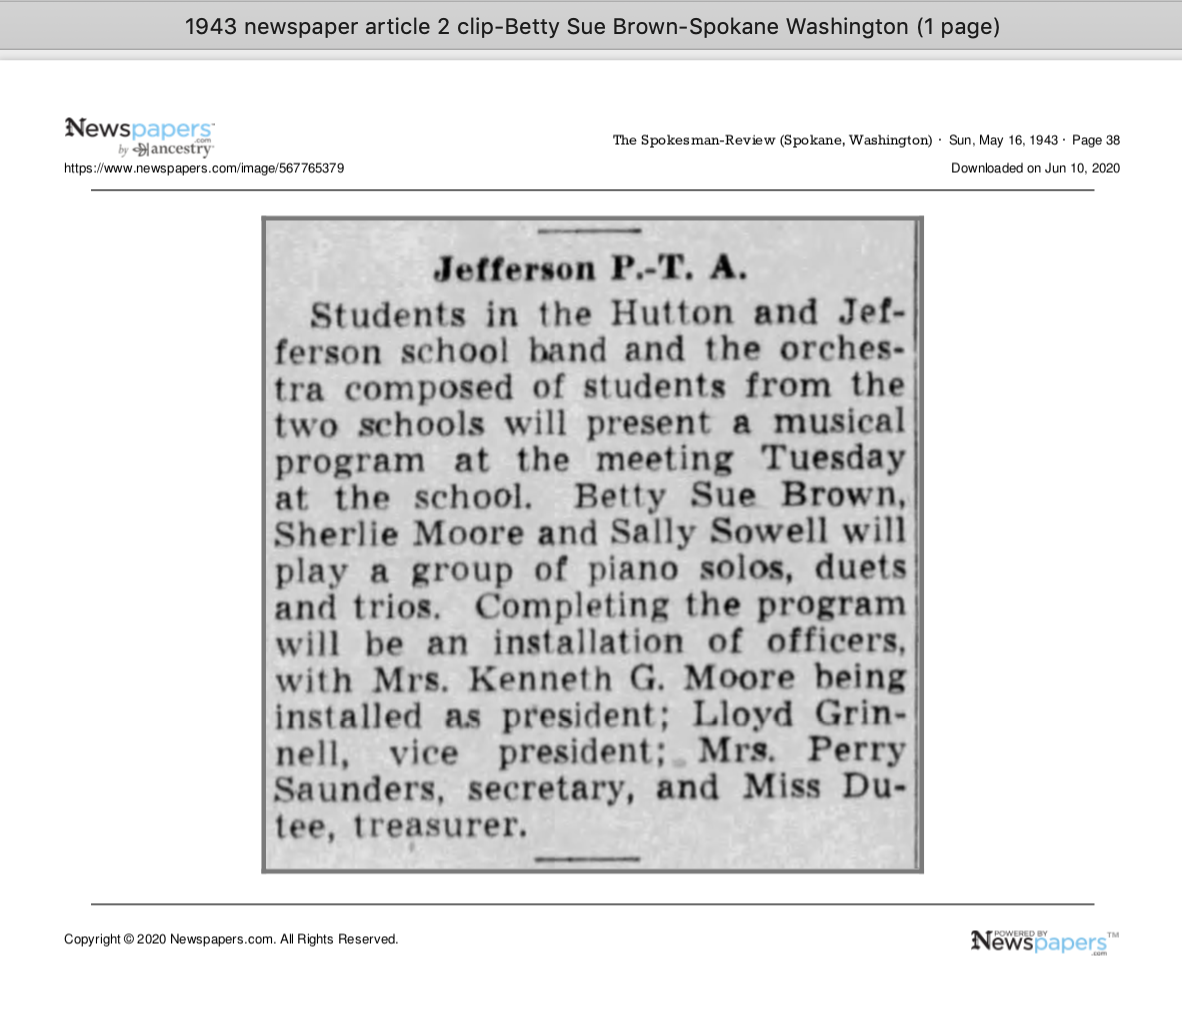
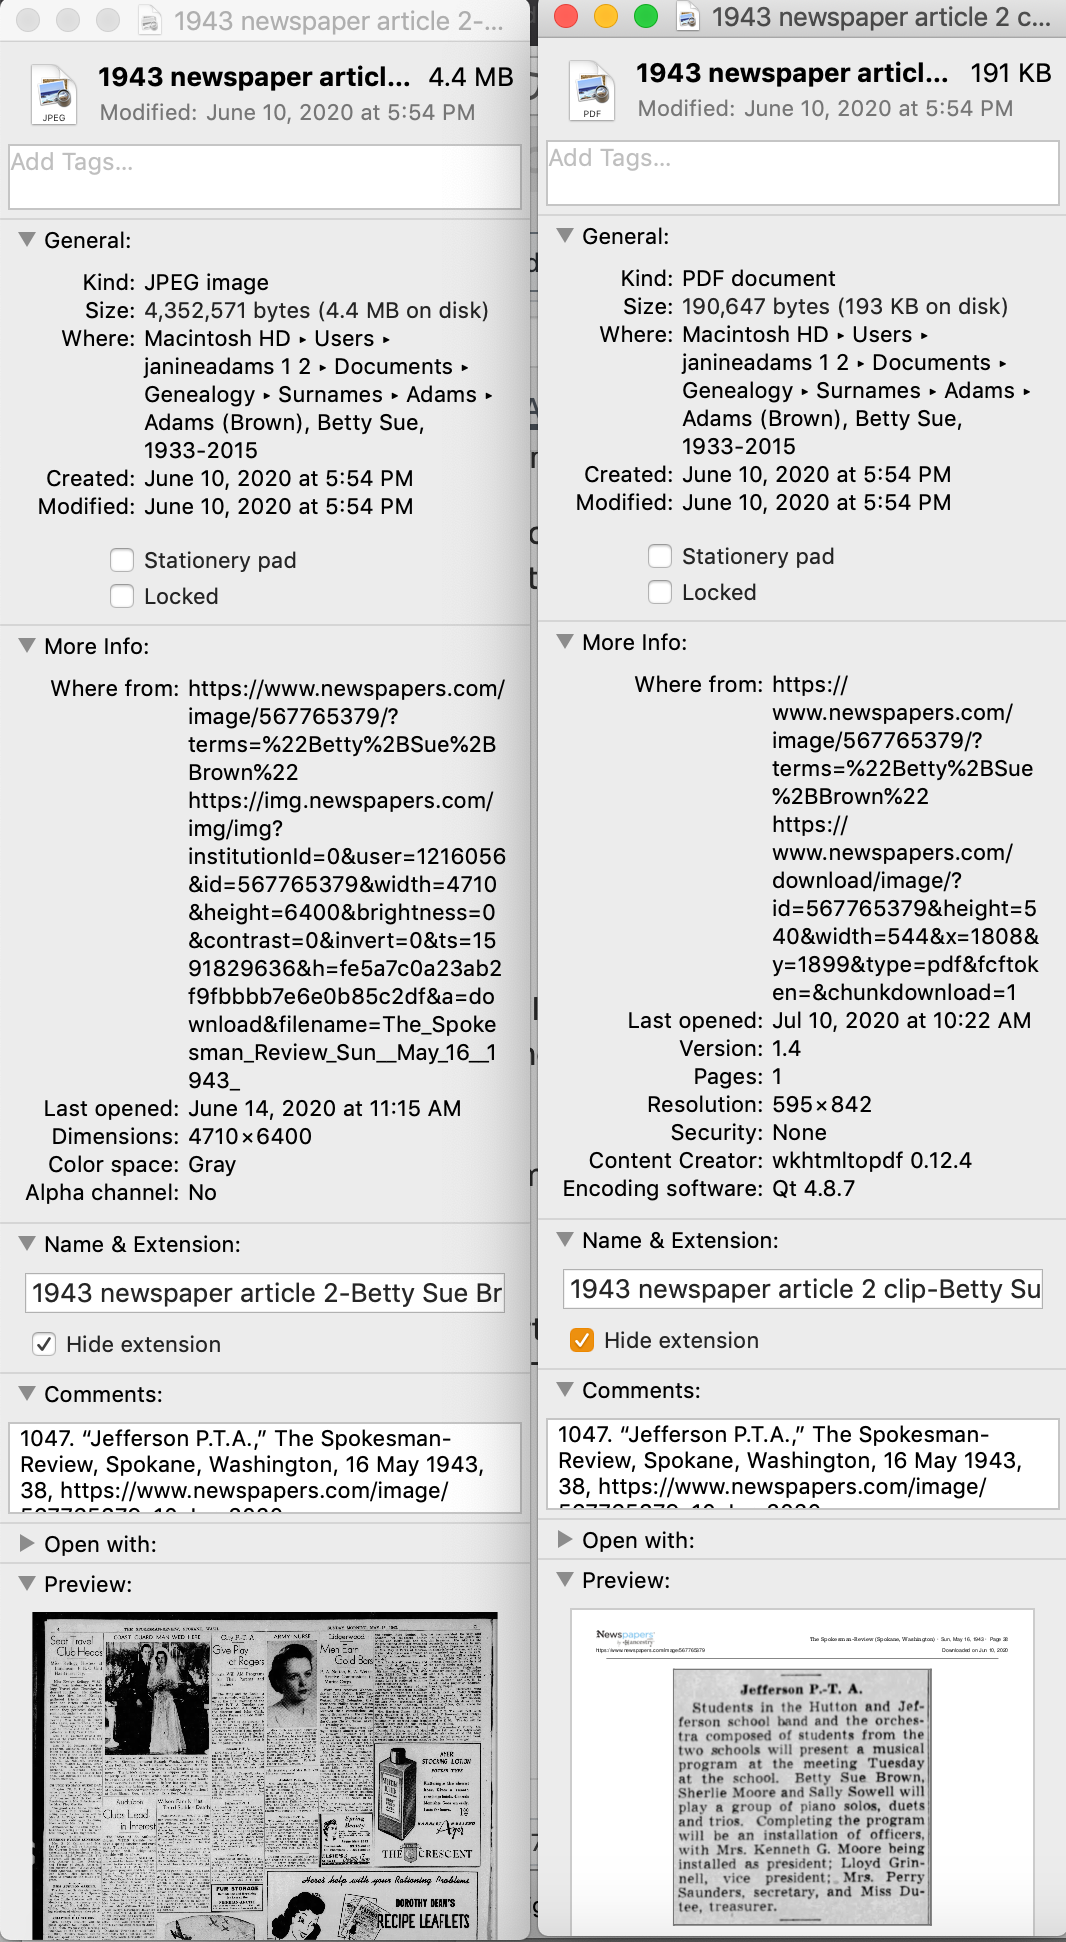
  3. Download the information (or scan it if I found it in paper form).
  4. Attach an image of the source document to the source citation in Reunion.
  5. File the digital document in that ancestor’s electronic folder on my hard drive, copying it if it applies to more than one ancestor.
  6. Scour the source for further information.
  7. Make a note in Evernote if it sparks potential further research.

So far this feels good to me and I haven’t second guessed it.

How do you store your family tree information?

Filed Under: Challenges, Organizing, Technology Tagged With: electronic files, organizing aids, record keeping, technology

Revisit: How I process Newspapers.com articles

April 21, 2025 By Janine Adams 10 Comments

I’ve been looking through my published blog posts for some that might be worthy of repeating. This article from 2020 is one that I thought folks might find helpful. The screenshots may not exactly match how things look currently on Newspapers.com and to be honest I haven’t had a subscription in awhile so I wasn’t able to verify that all the steps are exactly right. But I’m going on faith that it’s up-to-date enough to be helpful to those looking for ideas on including newspaper articles in their genealogy database. When I published it originally, it garnered some valuable comments, so you might want to check the comments on the original version.

I’ve been doing a lot of research on Newspapers.com recently. I downloaded a number of articles about my maternal grandparents, Crawford and Susie (Jeffries) Brown, who lived in Spokane, Washington, from 1936 until their deaths in the 1990s. My mother, Betty Sue Brown Adams, was born in Missouri in 1933, but the family to Spokane when she was three and lived there until she left for college.

The Spokesman-Review, Spokane’s daily paper, is part of Newspapers.com Publisher Extra collection. I did a seven-day free trial with them and when it was over I still I had research I wanted to do, so I signed up for a 30-day subscription for $19.99. (I didn’t want to spend $60 for a six-month subscription.) With the clock ticking, I’ve been downloading articles and also working through my backlog of downloaded articles. In doing so much research on Newspapers.com, I’ve developed a method of downloading and processing the articles that I thought I’d share with you here with some screenshots in case it’s helpful.

As always, I’m sharing what works for me…that doesn’t make it the right way or the best way. And it doesn’t mean I won’t change it up later. But this is what I’m doing now. (Several years ago, I did a screencast of how I process newspaper articles from Genealogy Bank, which was slightly different. If you’re interested, you can check it out here.)

When you find an article on Newspapers.com, you have the option to clip the article so that you find it later on Newspapers.com and others can see it (you can also download, share or save on Ancestry.com by clipping an article), or you can print or save the article. Because I don’t plan to keep my Publisher’s Extra subscription and because I prefer to download everything to my hard drive, I choose to the download the article and also to download the entire page it is on, for context. Here’s what I do:

Once I’ve found an article that I want to save (in this example, it’s a 1943 article about my ten-year-old mother performing in a musical program at a PTA meeting), I click on Print/Save.

Then I click on Select portion of page. (Click on any of these images to make them larger.)

Processing an article from Newspapers.com Step OneThen I outline the article using Newspaper.com’s grab tool and click Save.

Processing an article from Newspapers.com Step One

Once I click Save, I’m given an option of saving it as a jpg or a pdf. When you save as a pdf, the source information is included. I always save a clip as a pdf.

Processing an article from Newspapers.com Step Three

Once I click Save as PDF, the article is downloaded to my hard drive. When I open it, it looks like this:

Processing an article from Newspapers.com Step Four

You can see that Newspapers.com has included the newspaper title, date, and page number of the article, as well as the date it was downloaded and the URL for the image. This is really helpful when I create the source citation in Reunion, the genealogy software I use on my Mac. Notice that I have changed the filename of the article per my file-naming protocol. I always put “clip” in the filename for the clipped articles, since I will also download the entire page using the same filename (minus “clip”). I save the article in my Surnames folder.

Next, I go back to newspapers.com, click on Print/Save again, and this time select Entire Page. Then I’m asked if I want to save it as a jpg or pdf. I always save the whole page, as a jpg. That’s just my personal preference.

Processing an article from Newspapers.com Step FourOnce I click Save as JPG, the page is downloaded and I change the filename to match the clip’s filename (omitting the word “clip.”)

Now it’s time to glean information from the article and add it to Reunion.

I take a fact from the article, enter it into Reunion and create a source citation. In Reunion, I use the template for Newspapers to create my source citations. So here’s what the source record for this article looks like (again, click any image for a larger view):

Processing an article from Newspapers.com Step FiveNote that I have attached both files, the clip and the whole page, as multimedia files in the source citation, by simply dragging them from the Finder. But before I do that, I do one other thing. I click on the little clipboard icon in the Preview pane and I paste the citation into the metadata of the file. Here’s how I do that.

I highlight the two files (article and whole page) in Finder, right (or control) click on them and then select Get Info. That brings up the metadata for those files. I paste the source citation in the Comments field. This is really helpful later on if I want to see which source a particular file is attached to.

Processing an article from Newspapers.com Step Six

Then I drag the files into the source record. After I’ve gleaned all the information from the articles, I file them in my folder structure.

A final note: In this particular example, you might be curious how I entered this tidbit about a musical program in Reunion. Under Residence in the Events tab, I added the date of the newspaper article and Spokane, recording that my mother lived in Spokane on 16 May 1943.  But I took it a little further. This was one of six Spokesman-Review articles I found about my mother performing as a girl. So in the Notes tab I also created a little listing of those performances. Here’s a screenshot:

Processing an article from Newspapers.comI don’t know if it looks complicated laid out like this, but it really isn’t. I pretty easily got into the rhythm of it. The process can get a little tedious, but I think it’s worth the effort to have both the clip and the whole page downloaded. The little nuggets you get from newspaper research can really paint a great picture!


Filed Under: Challenges, Genealogy tips, Organizing, Technology Tagged With: Brown, electronic files, genealogy tools, newspaper clippings, newspapers, organizing aids, research, source documentation

Creating a digital workflow

March 1, 2024 By Janine Adams Leave a Comment

Since it’s RootsTech time, I was thinking about the talk I co-presented at RootsTech 2017 with Brooks Duncan called Going Paperless in Genealogy. Shortly after I wrote a post about my digital workflow that presents it pretty concisely. I’m happy to report that the workflow has stood the test of time. I thought now would be a good time to repeat that post.

When Brooks Duncan and I spoke at RootsTech about going digital with genealogy research, it became apparent to me from the questions that digital workflow is an individual thing. I’ve developed a work flow that works well for me, so I thought I’d share it here. I’m not suggesting I do things The Right Way (I don’t know if there is a right way, especially for hobbyists), but I wanted to show you what works for me. I know that I love seeing examples of how people handle their own workflow, so in the spirit of sharing, here’s mine.

When I find a digital document online–let’s say it’s a census document that I found at Ancestry–I take the following steps after ascertaining that it’s pertinent to my research:

  1. I click Save to download the document to my computer’s desktop.
  2. I rename the file immediately so that it reflects my simple file-naming protocol (year document type-ancestor name-location).
  3. I immediately file the document in my file structure (Genealogy/Surnames/[Ancestor’s surname]/[Ancestor’s name]
  4. I analyze the document and enter the first fact into my Reunion software.
  5. I create a source for that fact, using Reunion’s templates.
  6. I drag the image of the file into the Multimedia section of the Reunion source screen for that source. (That’s an example of the Reunion source screen at the top of this post.)
  7. I enter all other facts I find in the document into Reunion, using the same source number for each fact I find in that document.
  8. I click Preview in the Reunion source screen for that source and copy the citation and paste it into the metadata of the image file on my hard drive.

I added that last step after RootsTech, adapting a suggestion made by an audience member at our talk. I hadn’t thought about noting on the image what the source number and citation is. I think it’s a great idea and now I intend to go to back and do that for all my sources.

This eight-step work flow takes me from discovery through processing the document. It means that I don’t have stray documents on my hard drive with nonsensical file means. It also means I can easily a find a document when I want to. And it helps me see what documents are missing. Having the confidence that I can find a document I’ve saved allows me to feel good about not printing it, which cuts down on my paper clutter. (And, yes, I backup my hard drive daily, both to the cloud and to an external hard drive.) This workflow was about five years in the making, and I’m very satisfied with it!

For more in-depth information on how I organize my own genealogy, including a detailed look at my digital workflow, check out How I Do It: A Professional Organizer’s Genealogy Workflow, a 37-page downloadable available for $19.99.


Filed Under: Organizing, Technology Tagged With: electronic files, organizing aids, record keeping, source documentation

Striving for “organized enough”

August 1, 2023 By Janine Adams 2 Comments

Ten years ago this month, I wrote a post called Are you organized enough?. Today, I present an updated version of that post. In my  opinion, striving for organized enough is far superior to striving for perfectly organized. It’s easier and it’s more sustainable!

A lot of people (including me) strive to be organized, especially when it comes to their genealogy. There are over 43,000 members of the Facebook group, The Organized Genealogist! It’s obvious that many people are looking for ways to get their genealogy research organized.

That begs the question: What does being organized really mean?

I think the answer varies by the individual, but generally speaking, as a professional organizer, I believe that being organized means that you’re able to put your hands on what you want, when you want it (well, within a minute or two). I always discourage people from striving to be “perfectly organized” (because that’s not really possible) and instead go for “organized enough.”

So how do you become organized enough? When it comes to family history research, the path to being organized starts with picking out a system that will work for you. There’s no one right way to organize your genealogy records. Pick what you think will work for you and try to keep it simple.

The next step is to implement your system going forward.  Start immediately, with the next document you find. Don’t wait until you get through your backlog to start filing your incoming documents! The third step is to  deal with your backlog. That is, implement your system using the papers or files you already have.

The final, very important, step is to maintain your system regularly. You don’t want to wait for a backlog to build back up before filing again. Instead, file as you go along. When you acquire a new document  (be it paper or electronic) process and file it right away.

For me, the big difference in how I organize my genealogy files between now and when I first started getting interested in the hobby about two decades ago is that I no longer use paper files. All my documents are digital. I download, rather than print. And if something does come to me in printed form, I scan it. (This post, My process for downloaded documents, details my file-naming protocol and folder structure. They allow me to easily find any document on my hard drive.) I use Reunion software to keep track of my family tree and my sources. That gives me great peace of mind. (And, yes, I back everything up both on an external hard drive and in the cloud.)

The best part? My genealogy research doesn’t impinge on my physical space. The few paper files I’ve retained are in a rolling file cart that I tuck into a closet in my office. And my digital files reside tidily on my hard drive and in the cloud.

I’m not perfectly organized, not by a long shot. But I can find virtually everything I’m looking for quickly, so that makes me organized enough. And that also makes me happy.

If you’re interested in a deep dive on how I organize my own genealogy research, check out my Orderly Roots guide, How I Do It: A Professional Organizer’s Genealogy Workflow.

Filed Under: Organizing, Reflections Tagged With: electronic files, organized enough, paper files, record keeping

  • Page 1
  • Page 2
  • Page 3
  • Interim pages omitted …
  • Page 15
  • Go to Next Page »

about me

I'm Janine Adams, a professional organizer and a genealogy enthusiast. I love doing family history research, but I find it's very easy for me to get overwhelmed and not know where to turn next. So I'm working hard to stay organized and feel in control as I grow my family tree.

In this blog, I share my discoveries and explorations, along with my organizing challenges (and solutions). I hope by sharing what I learn along the way I'll be able to help you stay focused and have fun while you do your research, too.

tags

30 x 30 Adams amy johnson crow anniversary Brown cemetery census Civil War conferences connections dna electronic files Evernote excitement Family Curator family photos genealogy tools getting started goals How They Do It Igleheart Jeffries keepsakes learning opportunities maps newspapers NGS organizing aids overwhelm paper files planning quick tips rasco record keeping research research log research trip resources RootsTech social history source documentation Stacy Julian technology time management vital records

join the facebook community!

join the facebook community!

My organizing business

Learn more about my organizing business, Peace of Mind Organizing®.

Subscribe by RSS

  • RSS - Posts
  • RSS - Comments

© 2026 Janine Adams


Loading Comments...