• BLOG
  • ABOUT
    • Privacy Policy

Organize Your Family History

Stay focused and happy while exploring your roots

Using Ancestry clues to find images at Family Search (screencast)

August 11, 2023 By Janine Adams 7 Comments

Five years ago, I created a screencast of how I found my great aunt’s death certificate on family search after finding an FHL film number on Ancestry. While the user interfaces at Ancestry and Family Search may have changed a little in the last five years, I do think it’s useful information, so I decided to run that 2019 post again today.

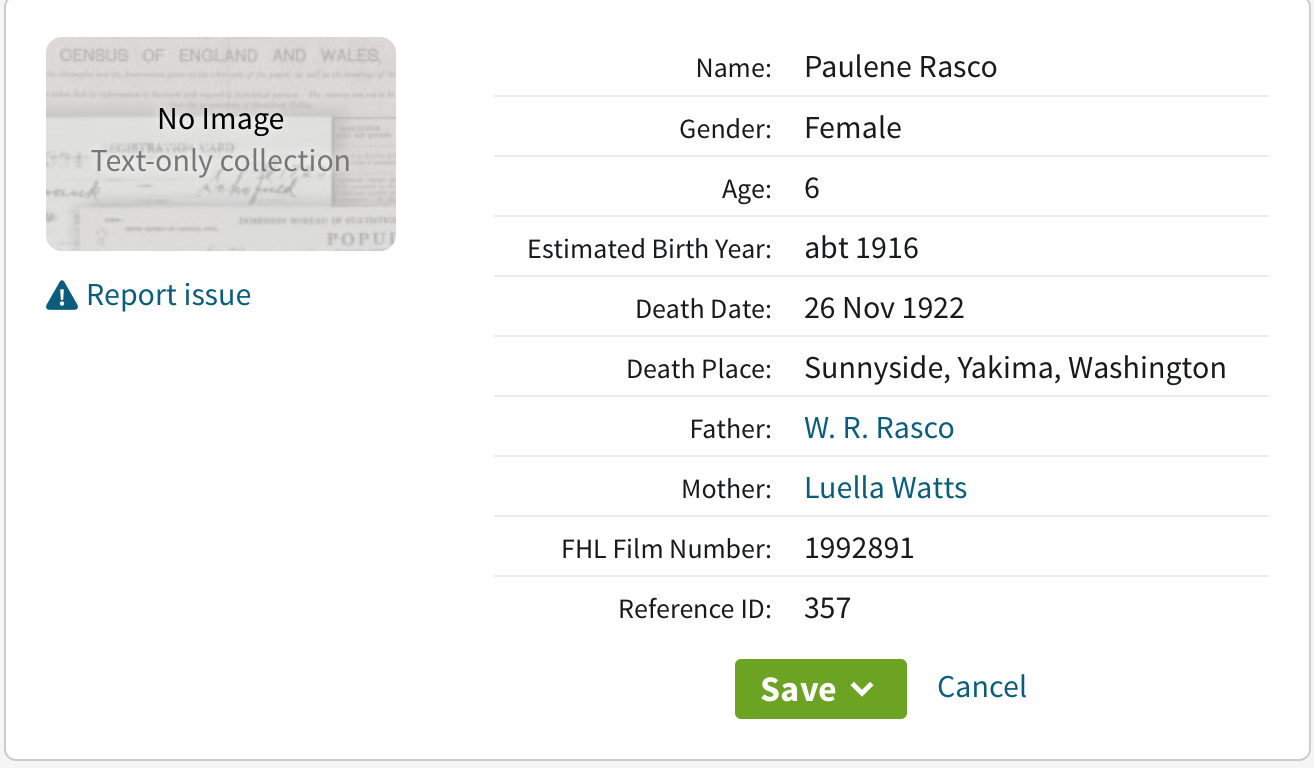
Today I was doing some research on Ancestry. (I’ve finished my backlog project and have lifted my ban on searching–more on that in a future post.) I was looking for a death certificate for my grandmother’s sister whom I had just learned through Find A Grave had died at the age of six, in 1922.

A simple Birth/Marriage/Death records search produced a collection called Washington, Select Death Certificates, 1907-1960, but when I clicked on it, it said “No Image Text-only collection.” (A picture of that screen is at the top of this post.) I saw that there was a FHL film number, so I went to Family Search to try to track down the document.

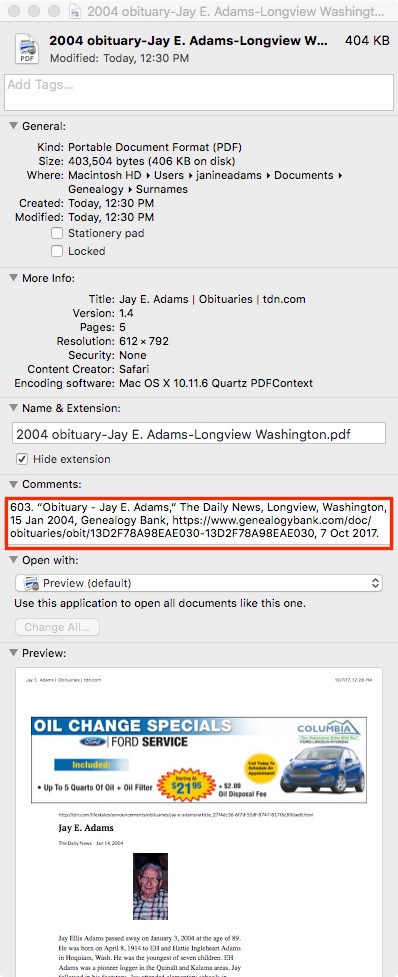
I was successful in finding an image of the death certificate, though I had to jump through a few hoops. After I successfully downloaded and processed it, I decided to do a screencast of the process, in case it helps someone here.

Here’s the screencast:

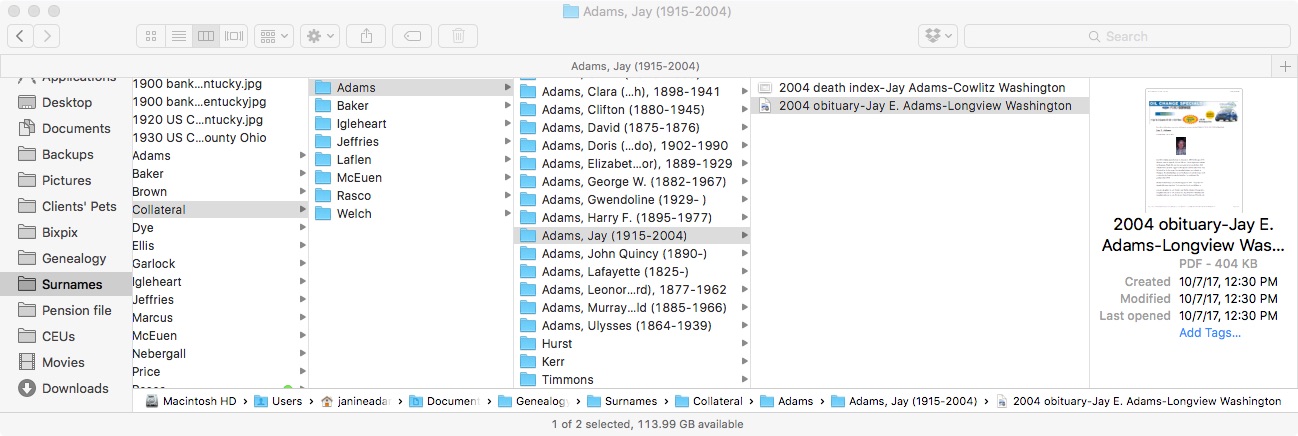
A quick summary is that I searched on the film number in the catalog at Family Search, then when I got another No Image Available message there, I drilled down further to the actual microfilm number mentioned on Ancestry and did another search. That brought up the image. If it hadn’t, I would have gone to the image number (listed in the initial search result at Family Search) in that digitized microfilm. Bottom line: don’t give up if you’re told an image isn’t available!

You can find more information on using Family Search’s card catalog in this post from a year ago: Using the card catalog to find elusive documents on Family Search. And if you’re interested in how I processed that death certificate after I downloaded it, check out the blog post How I process a downloaded document. (For a deeper dive, check out my Orderly Roots guide, How I Do It: A Professional Organizer’s Genealogy Workflow.)

Filed Under: Challenges, Genealogy tips, Technology Tagged With: family search, genealogy tools, research, resources, technology

How I store my electronic files

July 18, 2023 By Janine Adams Leave a Comment

Computer monitor connected to laptop with one cord and wireless keyboard and mouseI first published this post in 2016 and it seemed to be helpful, so I thought I’d run it again. I’ve updated it a little to represent current practices, but very little has changed about my process in the last seven years!

I love organizing my family history research electronically. As I’ve mentioned here many times, I try not to print digital documents and instead store everything electronically where I can have easy access to it.

I don’t think I have been clear when I talk about storing my genealogy data electronically that I’m not talking about storing it as a family tree on Ancestry or Family Search. I’m talking about storing it on my hard drive.

To me, it would be folly to rely on an outside service to store my precious genealogy data. If the only copy of my information was at Ancestry, I would be required to renew my subscription to access my own data. Even storing all my information at a free site like Family Search feels risky to me. In addition to the fact that at Family Search there’s a single tree that anyone can change, it’s conceivable that they could change their terms of service to something unacceptable to me. Or start charging for access. Or simply vanish. Another place that some people store their genealogy documents is Evernote. I think that can be a great way to have easy, searchable access to information. But I wouldn’t store genealogy documents on Evernote that I don’t also have on my hard drive. They could go belly up. (It happened with Springpad.)

I enter all of my data into family-tree software that resides on my laptop’s hard drive. I use Reunion 13, a Mac program. It can sync with the iPhone and iPad using the ReunionTouch app. I like that storing my data on my computer, rather than an online service, is that the information is accessible even when I don’t have an internet connection (if I have my computer with me).

Of course, I back up my hard drive, both on an external hard drive via Time Machine and with an online backup service (Backblaze). Backing up is critical.

I’m not saying that my way is the right way or the best way. But I’ll share with you my process for storing info, in case you find it helpful or interesting. So far, it’s working well for me.

When I find a sourced piece of information pertinent to my research this is what I do:

  1. Add the information to the appropriate person(s) in Reunion (or add a person if need be).
  2. Cite the source in Reunion.
  3. Download the information (or scan it if I found it in paper form).
  4. Attach an image of the source document to the source citation in Reunion.
  5. File the digital document in that ancestor’s electronic folder on my hard drive, copying it if it applies to more than one ancestor.
  6. Scour the source for further information.
  7. Make a note in Evernote if it sparks potential further research.

So far this feels good to me and I haven’t second guessed it.

How do you store your family tree information?

If you’d like a deep dive on how I organize my genealogy research, check out my Orderly Roots Guide, How I Do It: A Professional Organizers Genealogy Workflow.

Filed Under: Challenges, Organizing Tagged With: electronic files, organizing aids, record keeping, technology

My research-friendly computer setup

June 7, 2023 By Janine Adams 18 Comments

Computer monitor connected to laptop with one cord and wireless keyboard and mouseLike many people, I do most of my genealogy research online, from my desk. I have a laptop computer (a 14″ MacBook Pro). I love my laptop for its portability. I take it with me on research trips (or, really, any trip).

But I don’t love doing genealogy research on a 14″ screen and I don’t love using a trackpad instead of a mouse.

I bought my HP Business Z27 2TB68A8 27″ monitor way back in 2019 and it’s been great. (I should point out that there’s a more modern version of a similar monitor, the HP U28 4K HDR, that is less expensive and has more conveniently placed ports than mine. I’ve done no research on it, though.) What I love about this monitor is that it acts as a hub and a power source. I plug it into my computer with a USB-C cable and then I plug my external hard drive and webcam into the monitor. So I just have one cord going from my monitor to my computer. That makes it very easy to unplug and go. And it cuts down on cord clutter on my desk.

I also use a wireless keyboard and a wireless mouse. I recently developed tennis elbow from overuse of the keyboard and mouse, so I’m now using an ergonomic vertical mouse, which I think is helpful. I also prop the forward edge of my keyboard on a wrist rest so that it tilts downward, which helps my tennis elbow.

The joy of this setup is that I can have multiple documents open on my screen. I can also use my laptop screen, which I keep to the side and stash documents on. (In case you’re curious, my laptop wallpaper is the vision board I created for 2023.) If I were trying to do all my genealogy research and processing of downloaded documents on my laptop I am confident I would find it less enjoyable.

If you struggle with having as many documents visible as you’d like on your screen, you might consider a large monitor that you can use when you’re researching at home. Add a wireless keyboard and mouse and you get the best of both worlds of a desktop computer and laptop.

Filed Under: Challenges, Genealogy tips, Technology Tagged With: genealogy tools, technology

My process for downloaded documents

May 5, 2023 By Janine Adams 4 Comments

Life’s a little nuts right now, so rather than creating a new post, I’m re-running this post from October 20, 2017 in which I describe my workflow for a document I downloaded from the internet. Almost six years later, the process hasn’t really changed! For more detailed information on how I process digital documents, check out How I Do It: A Professional Organizer’s Genealogy Workflow, a 37-page downloadable pdf available for $19.99.

Last March, I wrote a post called My digital workflow that detailed what I do with a document I find on the Internet. (I never print it.) My digital workflow has not changed since then and it’s working out really well for me.

Last weekend, I did a talk at the St. Louis Genealogy Conference about going paperless and in my Powerpoint I included screenshots of the digital workflow and also a summary slide. The attendees asked for copies of the summary slide, so I decided to post it here.

The process is basically the same as my March post but I switched up the steps a little.

The example I used in my talk was my father’s uncle, Jay Ellis Adams (1914-2004). I had found his obituary online at the newspaper’s website. Here’s the workflow:

1. I click Print and, in the printer dialog box, Open in Preview (my Mac’s default pdf reader), which downloads the document to my computer. (If it had been a document at Ancestry, I would have clicked Save, then Save to My Computer.)

2. I immediately rename the file, using my file-naming protocol, which is Date Type of Document-Ancestor Name-Locality. I stick it into my Surnames folder, as a temporary holding place until I file it in step 6. I know that any unfiled documents in the Surnames folder require processing.


3. I select a fact from the document, add it to Reunion and create a source citation for it.


4. In Reunion, I click the Preview tab in the source record and then click Copy Source. (For the eagle-eyes among you, I originally found a transcript at Genealogy Bank and used that as the source citation. Then I decided to go to the newspaper’s website and download it from there, so I changed the source citation. But I was too lazy to take a new screenshot.)

5. I paste the source citation into the metadata of the source document (the obituary) by Ctrl-clicking on the file and selecting Get Info from the menu that appears, then pasting into the Comments area.


6. Then I file the document into my folder structure. My folder structure for collateral relatives is Genealogy/Surnames/Collateral/[Surname]/[Name of Ancestor (YOB-YOD)]. If the document  applies to multiple people, I duplicate it for each person and then drag it into the appropriate folder for each person. But I don’t take the trouble to rename it.

7. The final step is to drag the document into the Multimedia area of the source record in Reunion. This creates a link to the document so that I can open it up inside Reunion, which is very handy.


From there, I continue to extract information from the source document and add that it to Reunion. Every piece of information I glean from a single source document uses the same source number, no matter what person it applies to.

Here’s the summary slide:

This is the way I do and it works well for me. Of course, it’s not the only way to do it or perhaps the best way to do it. But I’m hoping you’ll find it useful to see my workflow. I’ve been processing documents this way for almost a year now and it’s working very well.

Again, for more in-depth information on how I organize my own genealogy, check out How I Do It: A Professional Organizer’s Genealogy Workflow, a 37-page downloadable pdf available for $19.99.

Filed Under: Challenges, My family, Organizing, Technology Tagged With: Adams, electronic files, organizing aids, record keeping, source documentation

  • « Go to Previous Page
  • Page 1
  • Interim pages omitted …
  • Page 8
  • Page 9
  • Page 10
  • Page 11
  • Page 12
  • Interim pages omitted …
  • Page 109
  • Go to Next Page »

about me

I'm Janine Adams, a professional organizer and a genealogy enthusiast. I love doing family history research, but I find it's very easy for me to get overwhelmed and not know where to turn next. So I'm working hard to stay organized and feel in control as I grow my family tree.

In this blog, I share my discoveries and explorations, along with my organizing challenges (and solutions). I hope by sharing what I learn along the way I'll be able to help you stay focused and have fun while you do your research, too.

tags

30 x 30 Adams amy johnson crow anniversary Brown cemetery census Civil War conferences connections dna electronic files Evernote excitement Family Curator family photos genealogy tools getting started goals How They Do It Igleheart Jeffries keepsakes learning opportunities maps newspapers NGS organizing aids overwhelm paper files planning quick tips rasco record keeping research research log research trip resources RootsTech social history source documentation Stacy Julian technology time management vital records

join the facebook community!

join the facebook community!

My organizing business

Learn more about my organizing business, Peace of Mind Organizing®.

Subscribe by RSS

  • RSS - Posts
  • RSS - Comments

© 2026 Janine Adams


Loading Comments...